Dr. Seuss Horton the Elephant Hat Tutorial

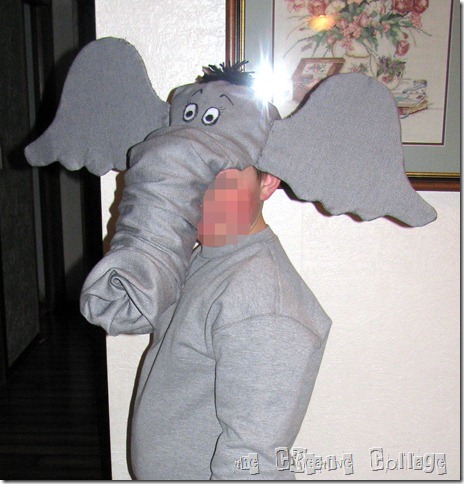
Last week Friday, the kids kicked off their reading month with a dress up day. The assignment – dress up like one of Dr. Seuss’ characters. My youngest went as Thing One decked out in a yarn wig. My oldest son wanted to to be Horton the Elephant. Not asking much, was he?!??!?! Especially considering it was Wednesday night, so that gave me one day to get it together!

Well, step one is to always consult my number one idea  girl – Sally. This would be Sally the Smartie – my computer. Yes, I just named my computer. I think I am a little delirious from lack of sleep. My husband got me up at 4:30 and needed help pulling a calf out in the hoop barn. This consists of getting dressed in coveralls (snowpants for you city gals!), coat, hat, gloves and boots. Running out to the barn, grabbing chains and hooks and being the assistant – “Chain, please”, “Hook, please”, “Chain, please”, “Hook, please” – “PULL”. Followed by tickling the calf’s nose and trying to carry a slimy, slippery, kicking calf to a clean pen, putting the mother with him, filling out paperwork and cleaning up the tools. After all that, it is rather difficult to fall back to sleep, so that was pretty much the end of my sleep. I guess I should’ve gotten to bed before midnight.

Sooooo – anyway, now my computer will have the dubious distinction of being named Sally. Don’t know where it came from, just the first thing that popped up. I do spend quite a bit of time with her and we have gotten to know each other pretty well.

Back to Horton – I got online and found a few different ideas for doing an elephant costume. I actually ended up using a couple different ideas and combining them. Mostly because it made it easier for my son to remove all the parts at one time during classes.

March 2 059-a

Sorry for the horrible flash glare in the picture!

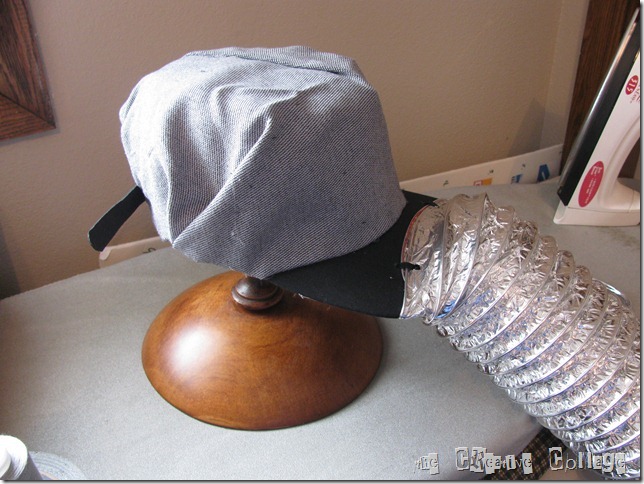
This started out as a regular billed hat. We have a ton of these lying around. It seems like all the elevators etc. that we do business with on the farm hand out hats each year. That adds up to WAAAAAYYYYY too many hats. I was rather glad to ‘sacrifice’ one for this project!

March 2 038

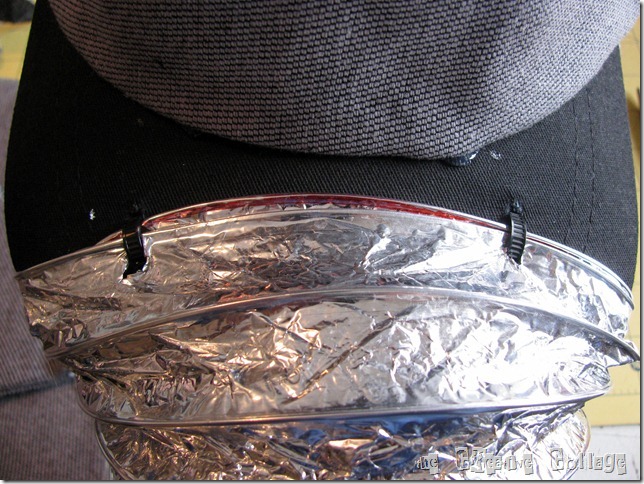
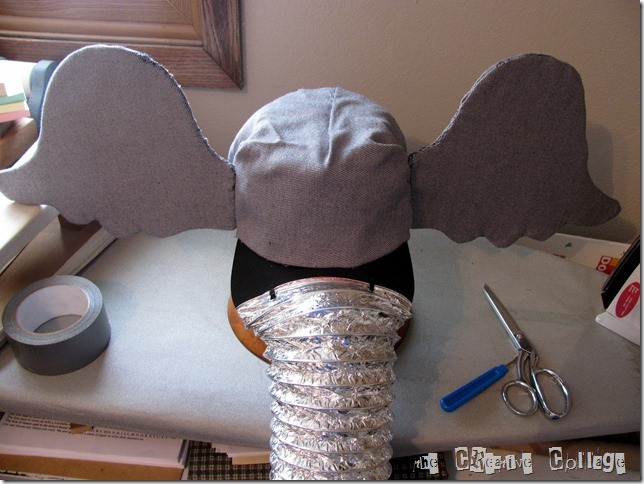
First my husband helped me connect the dryer vent piping to the bill of the hat. We drilled 4 holes through the bill and used plastic zip ties to hold it together making sure we caught the wire in the venting. This became the trunk. I saw one site that used this idea but put elastic on it so it could be worn over the nose and mouth, but then you would have a couple different things to deal with and I didn’t think that would be real great throughout the school day!

March 2 039

I found some gray material and just used hot glue to attach it to the top of the hat. I left the adjuster in the back out so that it could be worn be anyone over the years. You never know when you’ll need something like this!

March 2 041

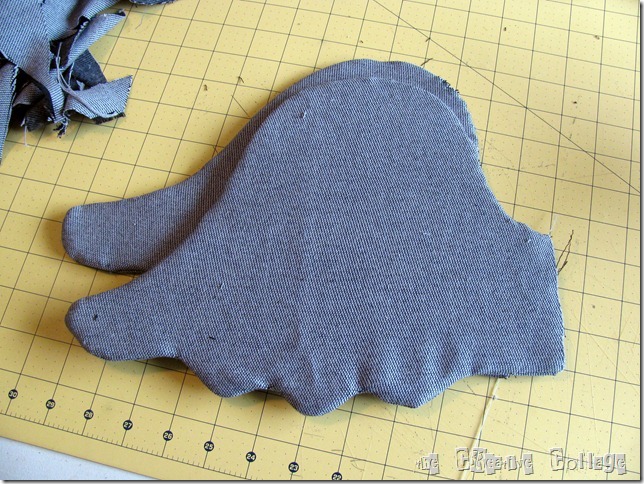
Next came the ears. I found a picture of Horton and just tried to loosely follow they looked like. I made sure that the part that would be attached to the hat would be the same height as the side of the hat. I traced a paper, cut 2 pieces sewed them together partially, inserted cardboard and finished sewing by hand. I then attached them to the hat, sewing by hand once again.

March 2 042

So that left covering the trunk. I cut a piece that was a little wider than the circumference of the piping and made it plenty long. I tapered it out to a little wider to help cover the bill which was wider than the piping.

March 2 044

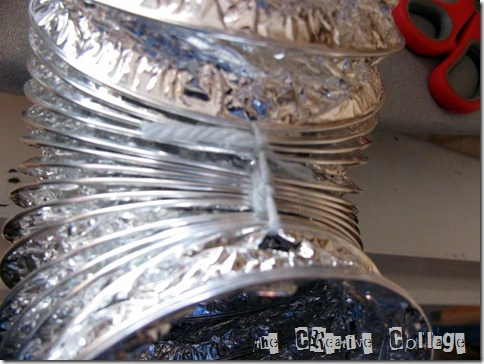
I decided that I wanted to keep the top of the trunk curved up, so I took some yarn and tied the ribs together on the top side. I used an awl to punch holes in the foil of the piping to run the yarn through.

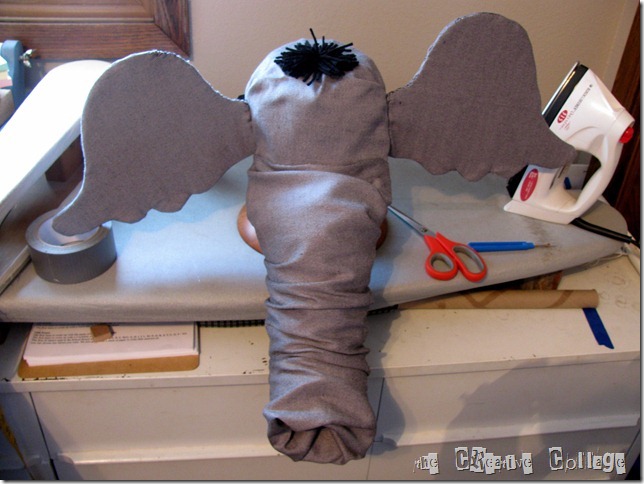
Then I slide the tube over it and used hot glue to attach it to the rest of the hat.

March 2 045

I sewed the end loosely and wrapped it around the end wire of the piping to keep it in place.

I also added a little yarn hair pom-pom to the top with hot glue.

March 2 046

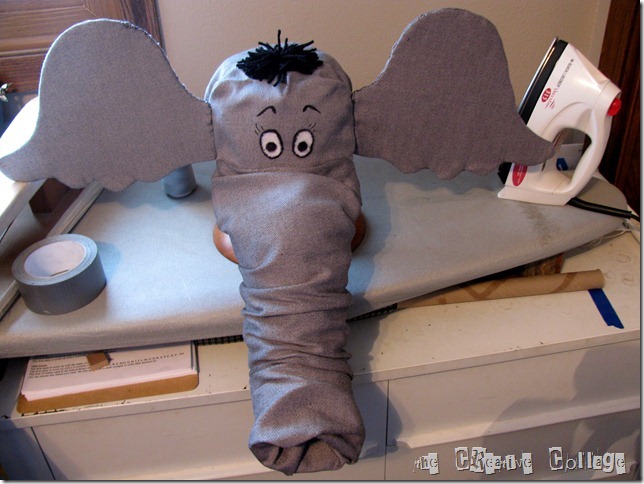
The final steps included adding some white felt for eyes. I just used a sharpie marker to draw on the outline and eyelashes and eyebrows.

My son was so excited to wear this to school and he had a great day!

TQ Jo signature

Linking to the following…

Chic on a Shoestring DecoratingA Little Knick KnackPhotobucket


Thing One Quick Yarn Wig and Shirt Tutorial

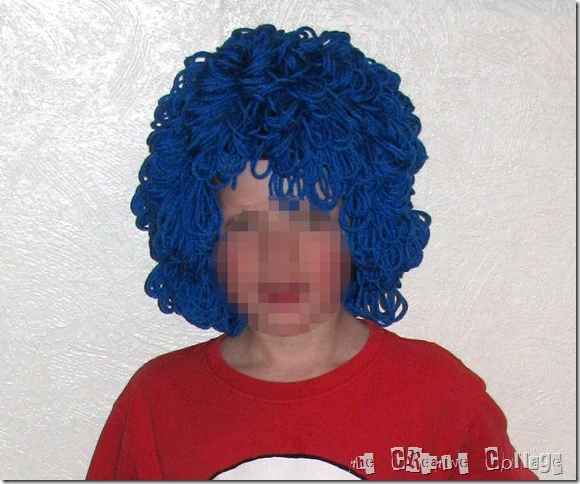
Our school kicked off the reading month with a day to celebrate Dr. Seuss’ birthday. So, a couple days before I started working on something for the kids to dress up as a Dr. Seuss character. I was not going to get anywhere to buy a blue wig for Thing One so I needed to come up with something with things that I had one hand.

Thus the Stocking-Hat-Turned-Yarn-Wig was born!

We keep a lot of inexpensive stocking hats around because my youngest son tends to plant them wherever he goes. So using one of them as the base, along with some bright blue yarn I had, this is what I came up with.

March 2 052

It was rather quick and dirty, but it serves it’s purpose!

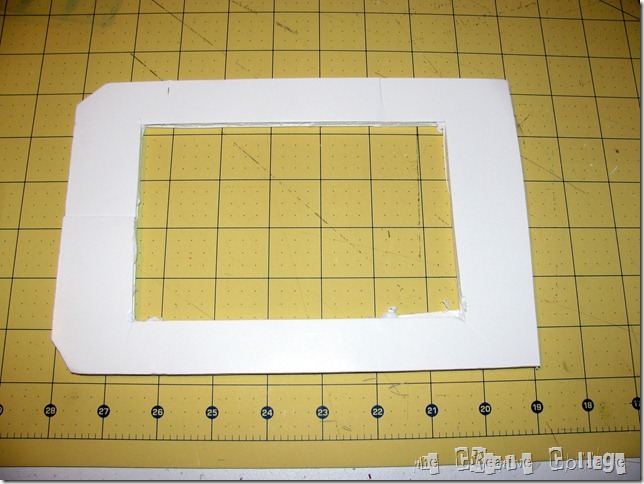
This is what I used to make the wig.

March 2 014

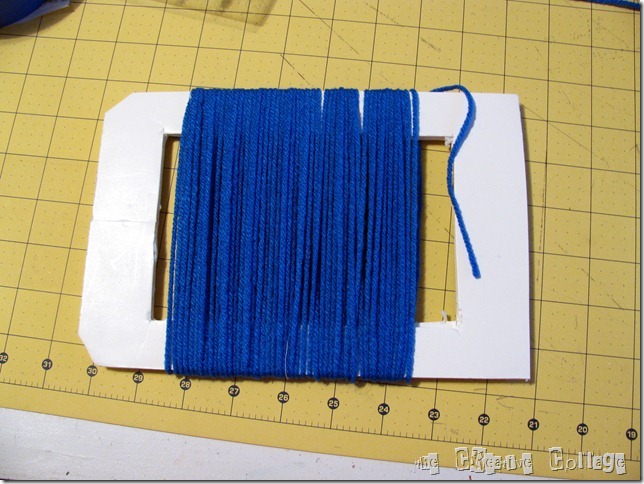
I just grabbed some thin foam core but cardboard would work also. This is not something that lasts a long time – you need to be careful with it but it will get you through this project. This is about 6” by 9” or so. The measurement will determine how big the loops on the wig are. I cut the edge off two of the corners to make it remove. There is also a slit at the top on the left hand side and a cut through the left side. I’ll explain the purposes of these things as I go along.

March 2 015

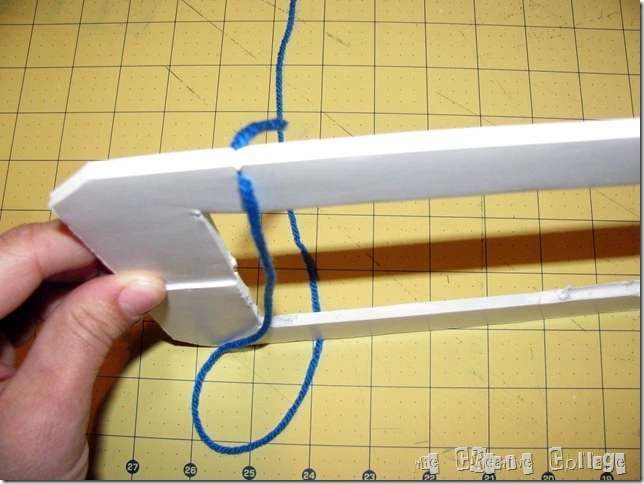
Here you can see that the slit at the top is holding the yarn and as I began wrapping, I made sure to hold the cut edge together. Then you can start wrapping.

March 2 016

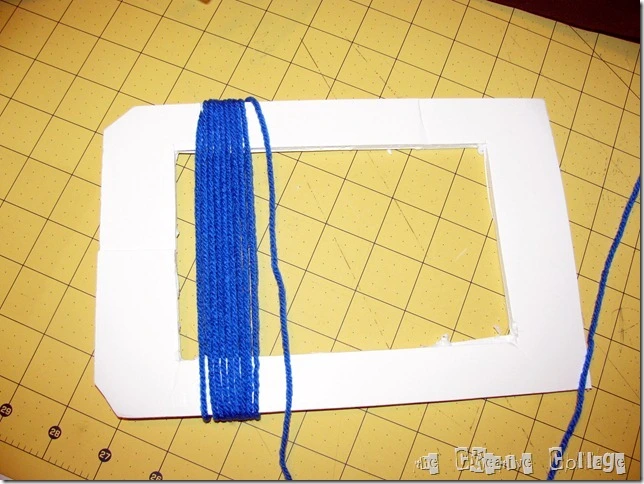
Make sure that you do not stretch the yarn or wrap too tightly. It will make it very difficult to remove later and it will also break the foam core frame (ask me how I know!).

March 2 017

I wrapped mine a total of 50 times and then cut the yarn.

March 2 018

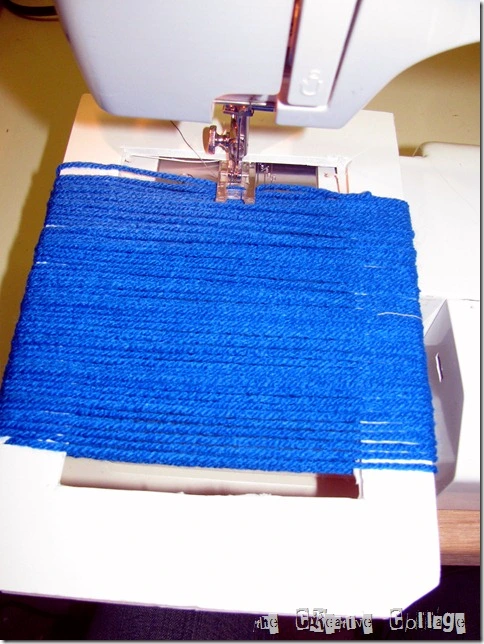
I then too it to the sewing machine, lifting the presser foot over the foam core and started to sew a straight stitch through the center of the yarn loops.

March 2 019

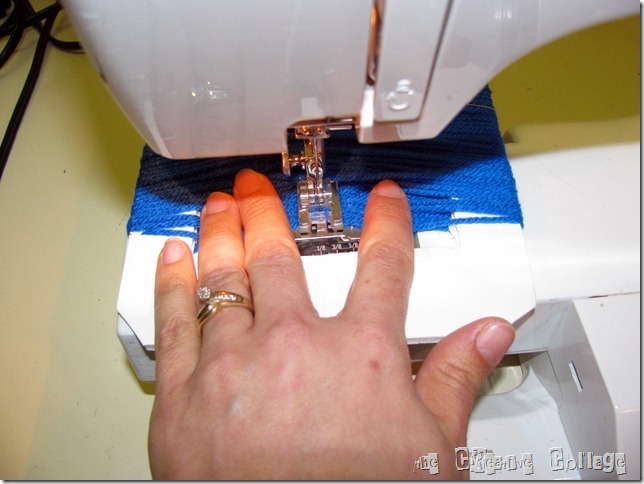
Make sure that you use your fingers to press the yarn through trying to keep it feeding evenly. I also backstitched at the beginning and the end to hold it more secure.

March 2 020

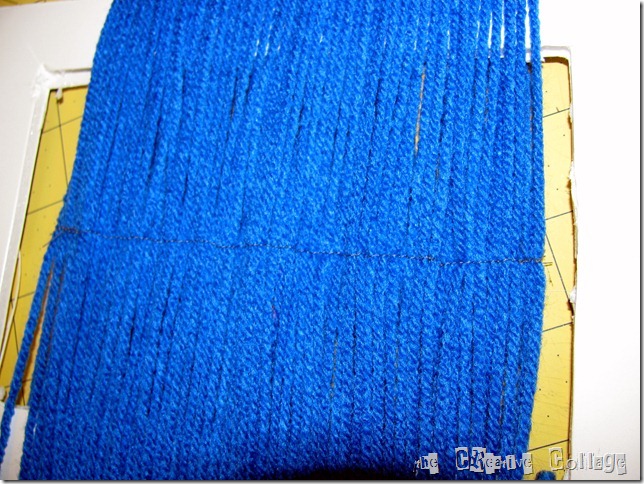
Then remove the frame and yarn from the sewing machine. Above you can see the seam through the center – perfection is not required!

Now for the tricky part…

March 2 021

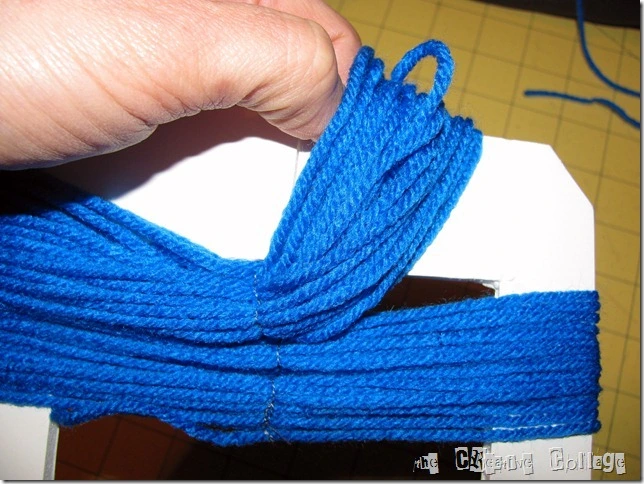
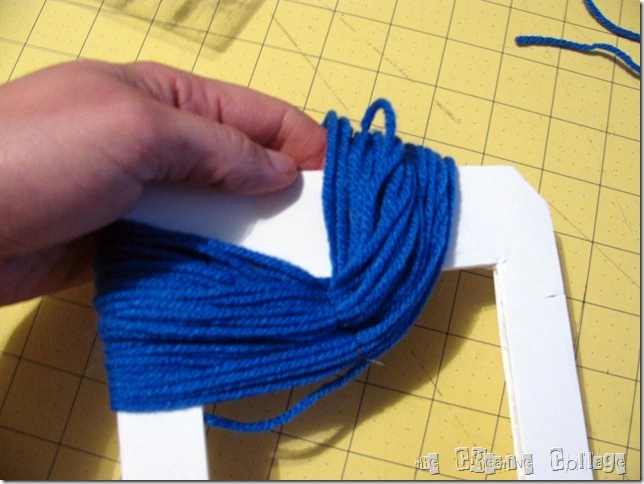
Push the yarn as far toward the side with the cut corners and the cut side as you can and slowly slide off one side – make sure that you release the starting yarn from the slit.

March 2 022

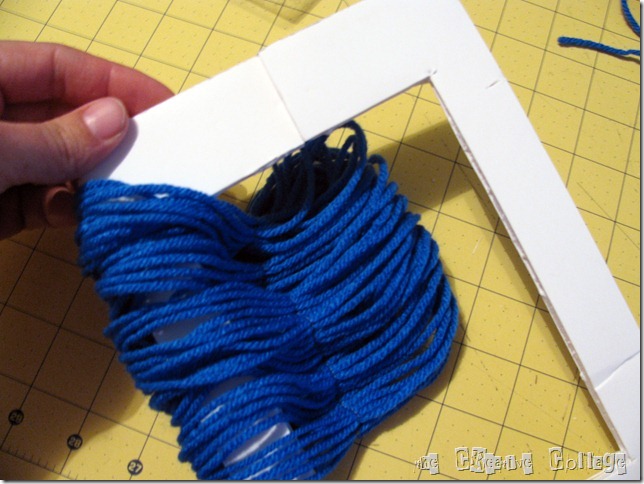
Once you have all the yarn off the one side, part your frame slightly allowing the yarn to slide and release from the frame.

March 2 023

Then you are left with just one side on the frame.

Slide the remaining yarn through the cut side – again, try not to bend your frame too much or it will break!

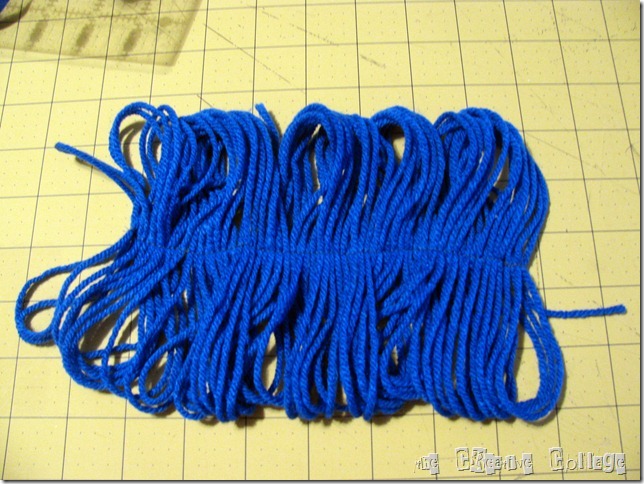
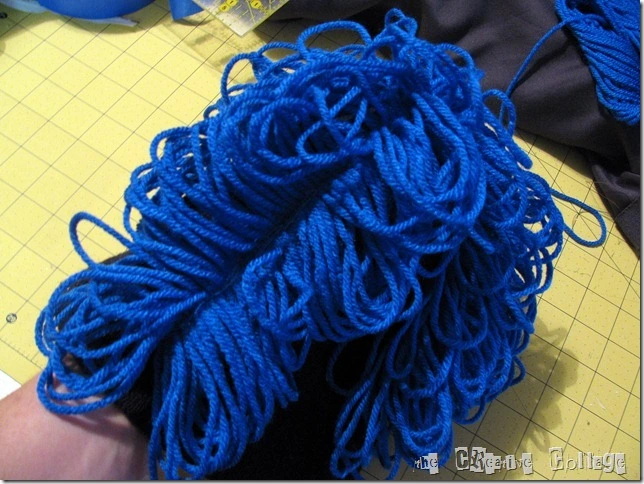
And this is what you will be left with!

March 2 024

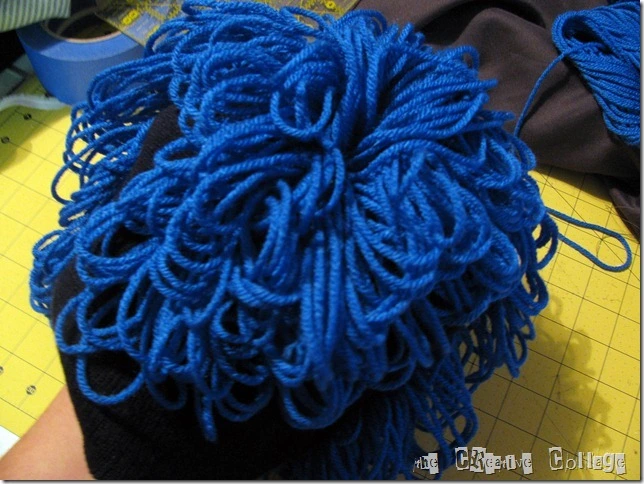
I think I made around 12 or so for the wig. It could’ve used more, but I was out of yarn so there were a few spots that showed the dark stocking hat through but not too bad. Ideally you would find a matching hat that would not be noticeable.

March 2 026

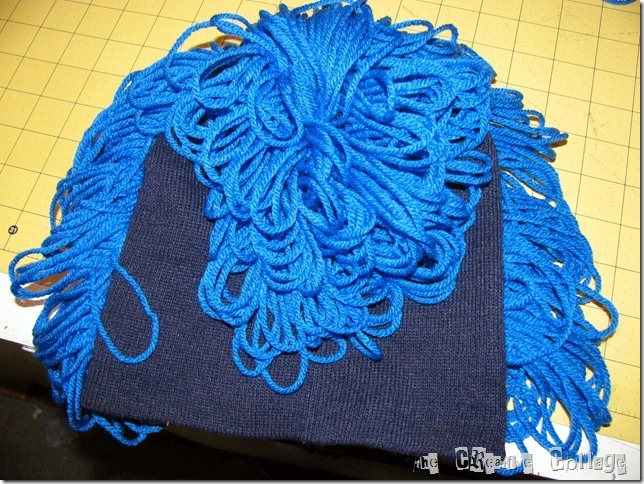
I started sewing each yarn strip on to the hat trying to follow the way that hair would fall and that would hide most of the stocking hat. You just need to sew along the same seam that you did to make each yarn strip to attach it to the hat.

March 2 027

As the hat gets fuller, it is more tricky to keep all the loops from hooking on the sewing machine!

March 2 028

I think I put three strips over the top and then added a couple strips down each side. Then I added 2 strips in the 4 quarters left. If I had extra left at the bottom of the hat, I just curved it toward an empty spot.

Like I said, not perfect by any stretch, but it turned out pretty cute!

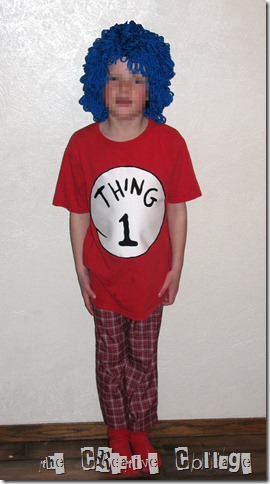
I also added a Thing One emblem on the front of a red t-shirt we had to complete the costume.

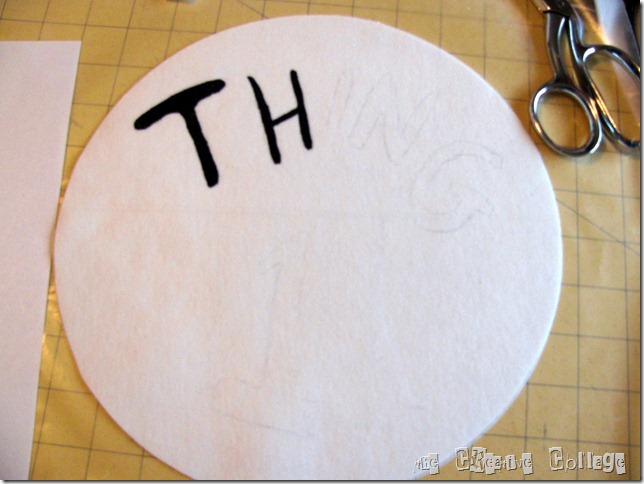
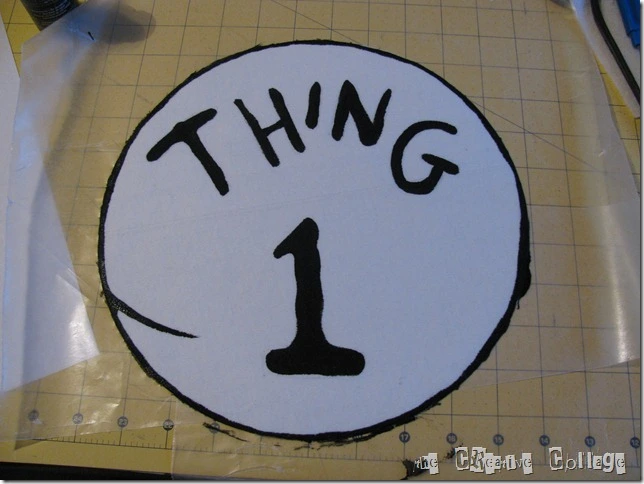
I cut a circle out of white knit (non-raveling) and added interfacing to it. I used a pencil and traced out where I wanted to paint the sign. I freehanded it using a picture I found online.

March 2 047

I then mixed black craft paint with a fabric medium and filled in the letters and number. I also added a border.

March 2 049

After letting it dry I ironed it to heat set it and stitched it to the front of the shirt.

We didn’t have any red sweats but my son had an old pajama pants that sort of went with the red t-shirt…

March 2 051

He was really excited to wear it to school this morning!

TQ Jo signature

Linking to the following…

Photobucket

Adding Orange to the Living Room

When we took out the carpet and had laminate installed, I  knew that we would need a rug for the center of the room. I looked around at different stores but couldn’t find anything I loved and especially at the price I wanted to pay!(oh the joys of being a cheapskate) I love to change things out and if I put a lot of money into something, then I feel like I am tied to it for a good long while. Maybe you could call it commit-o-phobia.

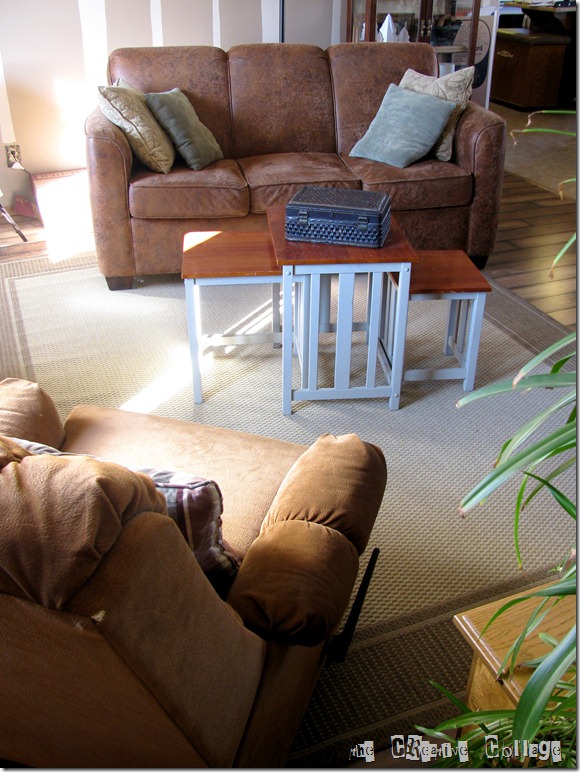
Anyway, what we ended up with was actually a very neutral 8×10 rug that came out of the outdoor rug section of a local hardware store. I think I paid $50 for it.

February 21 006

A side note – please ignore the big boxes behind the couch – they have been there for awhile – waiting on my finishing the bed for the master bedroom. Please don’t judge me on the brown tips on the leaves of my plant. It has been horribly dry this winter and I have not been doing well  watering it!

It has worked fine for the last couple years, but I have been keeping my eyes open for something with more color – doesn’t it look like it needs something besides brown?!?!? I love brown, but I definitely need to expand my horizons! My husband also complained that it wasn’t soft enough to lay on when playing with the kids, so another mark against it.

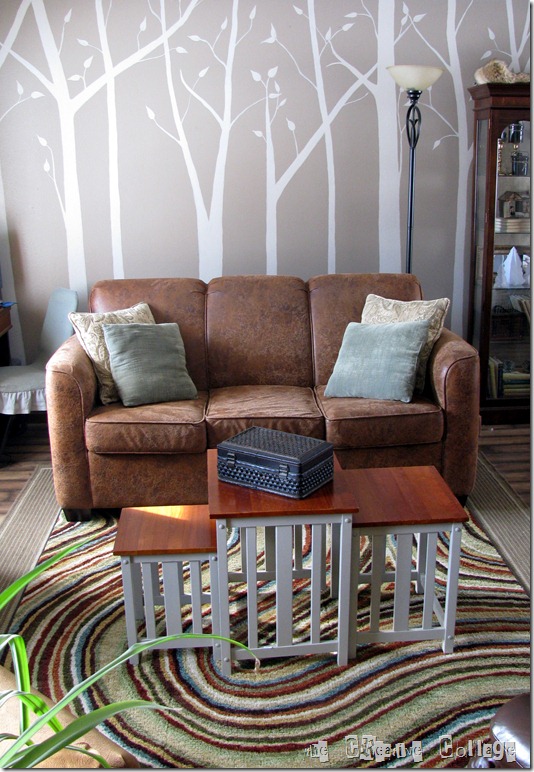
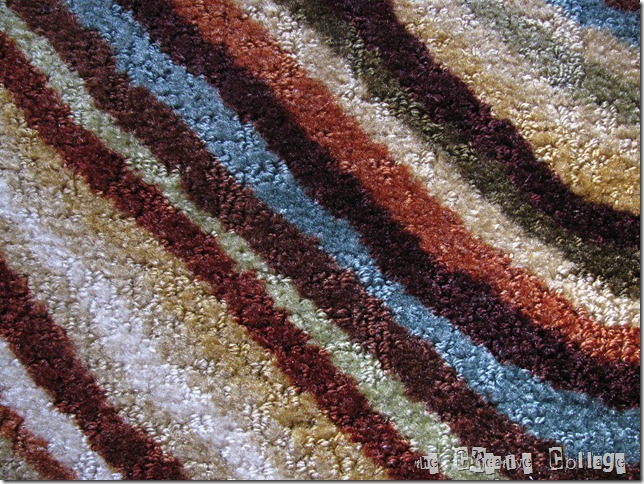
Well, my patience paid off – it finally happened. I found a rug that I loved with lots of colors that goes well with the other pieces in the room. And it didn’t break the bank either. I love the fact that it has a woodgrain feel because it compliments my silhouette trees on the wall.

February 24-2 001

Here is a close up of the colors in the rug itself.

February 21 008

I am looking forward to incorporating some orange/rust into the room. I ordered new material for curtains, pillows and bench seat cover. Hopefully it comes soon, because once summer hits, indoor activities come to a screeching halt around here! I have an idea for a new, unique coffee table that I hope to work on this spring yet also!

TQ Jo signature